The report builder utility can be used to create one-time and custom recurring daily, weekly, and monthly reports for bookkeeping, historical search, and problem solving.
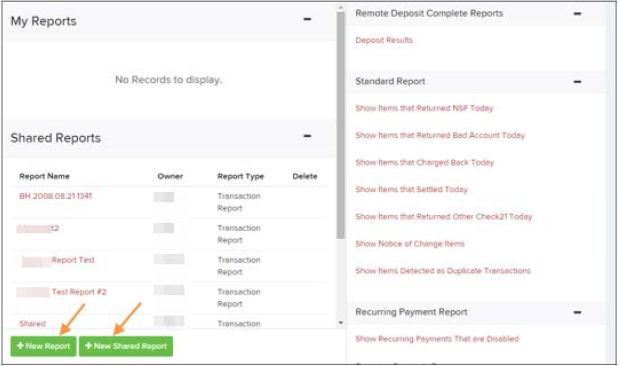
There are two options when creating a customized report: New Report and New Shared Report. While both are customizable, the shared report is available to other users who have access to the system. Other users will be able to pull the shared report and use its settings to generate information. Only the user who created the shared report can delete it.
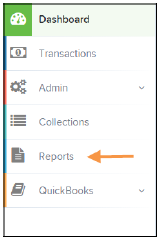
1. Login to the application, and select Reports from the left main menu.
2. Click New Report or New Shared Report, if it will be available to others.
3.The Reports page appears. In the top bar, enter a title for the report. Fill in the report criteria in each of the four sections: Report Type, Date Range, Advanced, and Report Column headers.
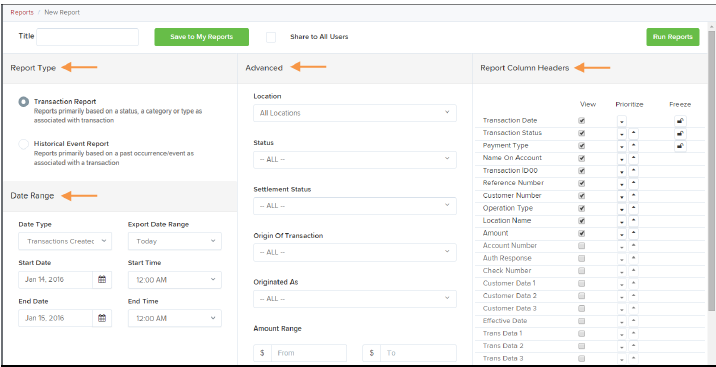
Report Type: Designate if your report will be a Transaction Report based upon the current status of a transaction, or Historical Event Report based upon past events a transaction has been through in the system.
Date Range: In the Date Type field, select either Transactions Created or Effective Dates for the report, which will determine if the report displays transactions based upon the date they were created versus the date they took effect
Select a pre-specified date range using the Export Date Range option (ideal for recurring reports), or specify your own date range with the Start Date and Start Time and the End Date and End Time fields.
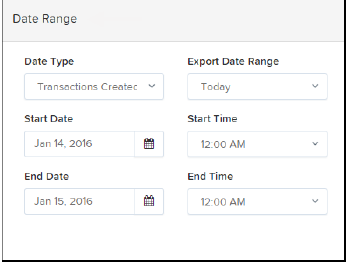
**NOTE If you are creating a Historical Event Report, a custom date range will be unavailable
Advanced Filters section - Specify the Location and Status of the transaction you wish to have in your report.
Settlement Status: Whether a transaction has been deposited. Designate a single status or multiple statuses by selecting the appropriate check box(es).
Origin of Transaction Determines how the transaction was received and will be coded. You may designate a single origin for the report or multiple origins by selecting the check box next to each option.
Originated As: Specifies how the transaction will be processed. You may designate a single type or multiple types.
Account Type: Determines the type of transaction the report will display. You can select a specific amount type or select ALL.
Operation: This option specifies what process a transaction has been through. You may designate one process or select ALL.
Authority Response Code: This option represents the types of return responses that can be received for a transaction. Select a specific response code of select ALL.
Amount Range: The From and To options allow you to look for the transactions with a specific amount or between amount values in decimal format (XX.XX).
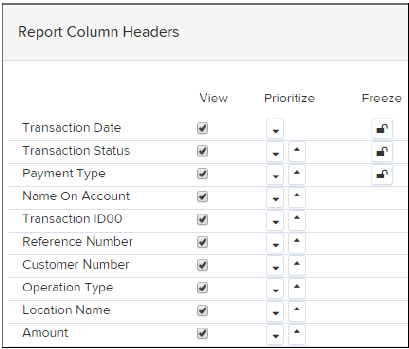
Report Column Headers- This section allows you to organize how report displays
Select the View check box next to any fields to have them show in the report
Under Prioritize, use the arrows to change the order in which information appears. For Example, select the upward arrow to a field listed before others, or select the downward arrow to have other fields listed before it.
Use Freeze to lock fields when viewing a report. This will hold certain fields in view while you explore the rest of the report information.
4. At this time, you may choose to select the Share to All Users check box (as shown below) if you want to have this report available for other suers to view. If you selected New Shared Report previously, this box will already be selected.
Alternatively, you may wish to save the report for your own use at a a later time by selecting Save to My Reports. This option will both save the report and generate a report to view.

Justine Krebs
Comments